
If you’ve ever wanted dessert that screams festive without making you cry in the kitchen, let me introduce you to pumpkin patch dirt cups. They’re easy, they’re fun, and they’re the kind of treat that makes both kids and adults lose their minds in the best way. I’ve made these more times than I can count, and honestly? They’ve never failed me—not once. So if you’re ready to whip up something that looks like it came straight out of a Pinterest board but doesn’t actually require bakery-level skills, you’re in the right place.
Why Pumpkin Patch Dirt Cups Are a Must
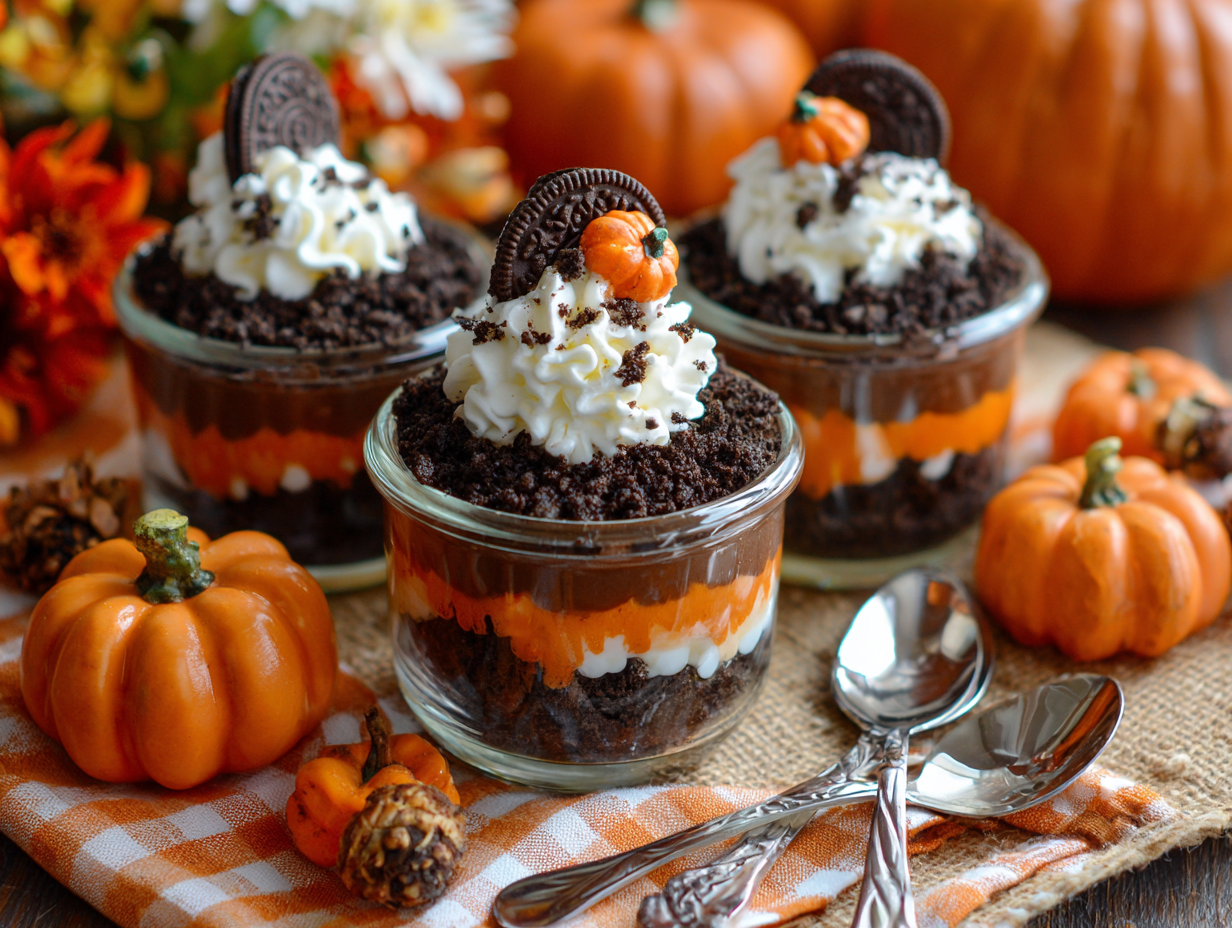
You know how some desserts look super cute but taste like disappointment? Yeah, this isn’t one of those. Pumpkin patch dirt cups are the perfect combo of rich chocolate pudding, crunchy cookie crumbs, and playful decorations that trick your brain into thinking you’re eating a mini edible garden. And the best part? They’re no-bake. Translation: no stressing over oven temps, no burned bottoms, no “oops, I forgot the timer” disasters.
Plus, let’s be real—these are a total crowd-pleaser. Bring them to a Halloween party, Thanksgiving potluck, or just a random Tuesday night, and watch them disappear faster than you can say “pumpkin spice.”
The Essentials: What You’ll Need
Before you get too hyped, let’s make sure you’ve got the basics covered. Nothing worse than starting a recipe and realizing you’re missing Oreos.
- Chocolate pudding mix (instant, because we’re not making life harder than it needs to be)
- Cold milk (to whisk that pudding into submission)
- Oreos or chocolate sandwich cookies (crushed into “dirt”)
- Gummy pumpkins or candy pumpkins (the stars of the show)
- Green sprinkles or icing (to create that pumpkin patch vibe)
- Clear cups or mason jars (so everyone can see the layers, because aesthetics matter)
Optional extras if you’re feeling bougie: whipped cream, edible grass, or little cookie tombstones if you want to go full Halloween.
Step-By-Step: Making the Magic Happen
Alright, let’s cut to the chase. Here’s how you actually make these things without pulling your hair out.
1. Whisk the pudding
Grab that instant chocolate pudding mix, pour in the cold milk, and whisk until smooth. It’ll start thickening pretty quick, so don’t get distracted scrolling TikTok.
2. Crush the cookies
Put the Oreos in a plastic bag, grab a rolling pin (or wine bottle, don’t judge), and crush them into fine crumbs. You want dirt, not gravel.
3. Layer it up
In your clear cups, start with a spoonful of pudding, then add a layer of cookie crumbs. Repeat until you reach the top. Pro tip: end with the cookie “dirt” so it actually looks like soil.
4. Decorate the patch
Stick a few gummy pumpkins on top, add green sprinkles or icing for vines, and boom—you’ve got a pumpkin patch. If you want to show off, add a tiny cookie fence or candy corn around the edge.
5. Chill and serve
Pop them in the fridge for at least 30 minutes. Not only does this set everything, but it also makes the flavors come together like besties at a sleepover.
Why They Work Every Time
Ever wondered why dirt cups hit so hard? It’s because they’re layered with textures and flavors that balance each other perfectly. Creamy pudding meets crunchy cookies, and then the chewy gummy pumpkins seal the deal. It’s simple, but it tricks your taste buds into thinking you did way more work than you actually did. And let’s not forget—the cuteness factor. Half the appeal is that people eat with their eyes first, and these little edible gardens are basically Instagram bait.
Common Mistakes to Avoid
I’ve seen people mess these up, and trust me, you don’t want to be that person. Here are the biggest pitfalls:
- Using regular pudding instead of instant. You’ll be waiting hours, and nobody has time for that.
- Forgetting to crush the cookies finely. Big chunks ruin the illusion of dirt. Plus, it’s awkward to chew.
- Skipping the chill time. Warm dirt cups taste…sad. Let the fridge do its thing.
- Overdecorating. I get it, you’re excited. But too many toppings make it look like a candy explosion, not a pumpkin patch.
Fun Twists and Variations
Want to shake things up? Here are a few ideas to put your own spin on the classic:
- Pumpkin spice pudding instead of chocolate, if you’re really leaning into fall.
- Crushed graham crackers mixed with Oreos for a lighter “soil” look.
- Mini tombstones (use Milano cookies and edible markers) to turn them spooky for Halloween.
- Vegan version with plant-based pudding, dairy-free milk, and Oreos (yep, they’re vegan).
Personal Take: Why I Keep Coming Back
I’ll be real—every time I make these, I tell myself, “This is just for the kids.” And then I end up hoarding at least two cups for myself. They’re nostalgic, they’re seasonal, and they remind me not to take desserts too seriously. IMO, that’s the best kind of treat—the ones that taste great and make you smile just looking at them. 🙂
Final Thoughts
Pumpkin patch dirt cups are the ultimate no-bake dessert hack. They’re cute, they’re customizable, and they deliver on both flavor and fun. Whether you’re making them for a fall festival, a Halloween party, or just because Tuesday felt boring, they’ll hit the spot every time.
So, are you ready to whip up a batch of these edible pumpkin patches? Trust me—you’ll look like a dessert genius with minimal effort. And hey, no one needs to know how easy they really are.