
Why This Dish Deserves a Spot on Your Table
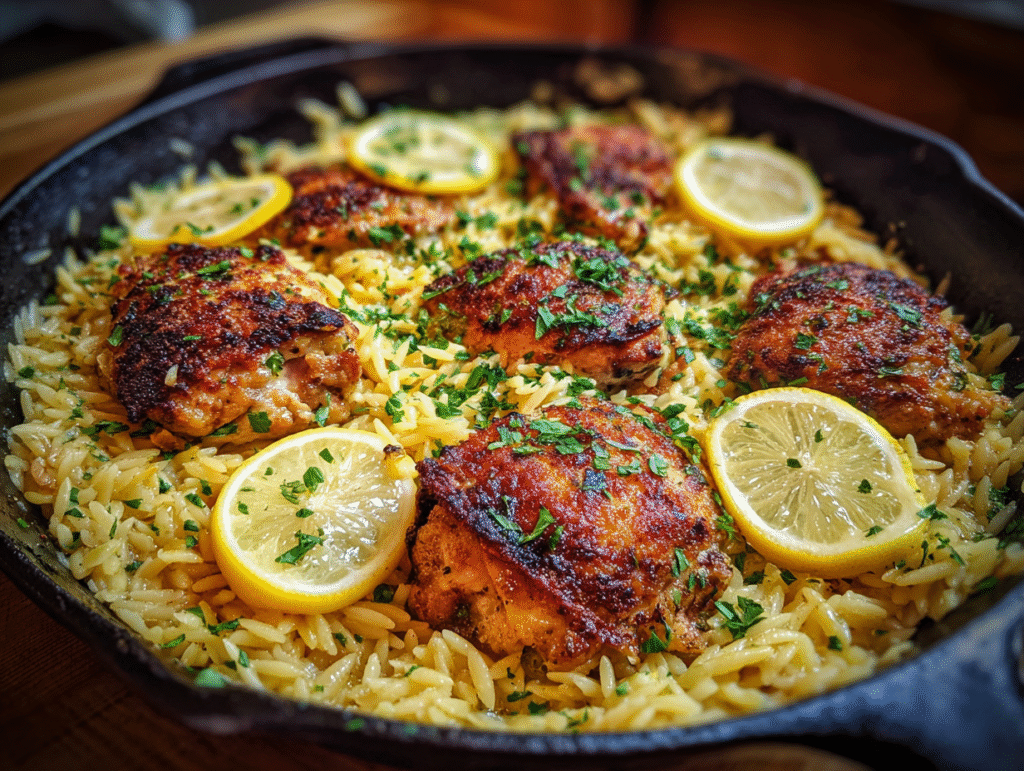
Let’s be honest—most of us love the idea of a homemade dinner, but the second it turns into a five-pan circus, suddenly calling for takeout feels like the logical choice. That’s why this dish is a lifesaver: crispy chicken thighs paired with creamy lemon-garlic orzo, all made in one skillet.
You get that restaurant-worthy crunch on the chicken skin and a silky orzo that’s basically pasta’s answer to risotto. The best part? Minimal cleanup. Yes, you can actually eat like a chef and still only wash one pan.
The Secret to Crispy Chicken Thighs
Why thighs instead of chicken breasts? Easy: they taste better and are way harder to mess up. Chicken thighs stay juicy, and the skin crisps beautifully when treated right. Breasts have their place (like in salads or lighter meals), but when you want comfort food, thighs are your MVP.
Here’s the trick: start them skin-side down in a cold skillet. That slow rendering gives you golden, shatteringly crisp skin without burning. It’s like a spa treatment for chicken—slow, patient, and with glowing results.
Why Orzo Works So Well
Orzo is pasta pretending to be rice, and that’s exactly why it shines here.
- It absorbs flavor like a sponge—garlic, lemon, and chicken drippings don’t just coat it; they become part of it.
- It turns creamy without cream—with a little broth and Parmesan, you get risotto vibes without the 30 minutes of stirring.
- It’s fast—done in under 15 minutes, which means dinner comes together before you start snacking on half the pantry.
Step-by-Step Guide
Step 1: Prep the Chicken
Pat the chicken thighs dry—seriously, moisture is the enemy of crispiness. Season them generously with salt, pepper, and maybe paprika if you’re feeling fancy.
Step 2: Render the Skin
Place the thighs skin-side down in a cold skillet, then turn the heat to medium. Let them sit undisturbed for about 10–12 minutes until the skin is golden. Don’t poke, prod, or flip early. Just let them work their magic.
Step 3: Flip and Cook Through
Once the skin looks like something you’d pay extra for at a bistro, flip the thighs. Cook another 6–8 minutes, then remove from the skillet. Don’t panic if they’re not 100% done yet—they’ll finish with the orzo.
Step 4: Build the Base
In the same skillet (with all that glorious rendered fat), sauté garlic until fragrant. Add lemon juice and chicken broth, scraping up the browned bits. Those little specks stuck to the pan? Pure flavor.
Step 5: Cook the Orzo
Stir in the orzo and enough chicken broth to cover. Simmer gently until the orzo is tender, stirring now and then. Add more broth if it starts to look dry. The goal is creamy, not soupy.
Step 6: Bring It All Together
Nestle the chicken back into the skillet, skin side up. Let everything simmer until the orzo is silky and the chicken is cooked through. Sprinkle with Parmesan and fresh herbs if you’re in the mood to impress.
Common Mistakes to Avoid
- Skipping the dry-off step: Wet chicken skin will steam instead of crisp. Not a vibe.
- Flipping too soon: Resist the urge. Crispy skin needs patience.
- Overcooking the orzo: Stir, check, taste. Orzo turns mushy fast if ignored.
- Forgetting acid: That squeeze of lemon balances the richness. Don’t skip it.
Variations and Substitutions
- Use boneless thighs if you prefer faster cooking, though bone-in brings more flavor.
- Swap rice for orzo if you want a more traditional one-pan rice dish.
- Add spinach or peas at the end for extra color (and the illusion of health).
- For a creamier finish, stir in a splash of heavy cream—but honestly, it’s rich enough without it.
FAQ
Can I use chicken breasts instead?
Yes, but watch them closely—they cook faster and dry out easier.
Do I need cast iron?
Nope. Any heavy skillet works, but cast iron is ideal for even browning.
Can I make this ahead of time?
It tastes best fresh, but leftovers reheat surprisingly well. Just add a splash of broth to revive the orzo.
Final Thoughts
This one-skillet crispy chicken thighs and creamy lemon-garlic orzo is proof that comfort food doesn’t have to be complicated. You get golden, crunchy chicken, silky orzo, and a dish that feels like it belongs on a restaurant menu—all without trashing your kitchen.
So the next time you’re debating between cooking and ordering pizza, remember: one skillet, one meal, zero regrets.